Trial and HAIRor

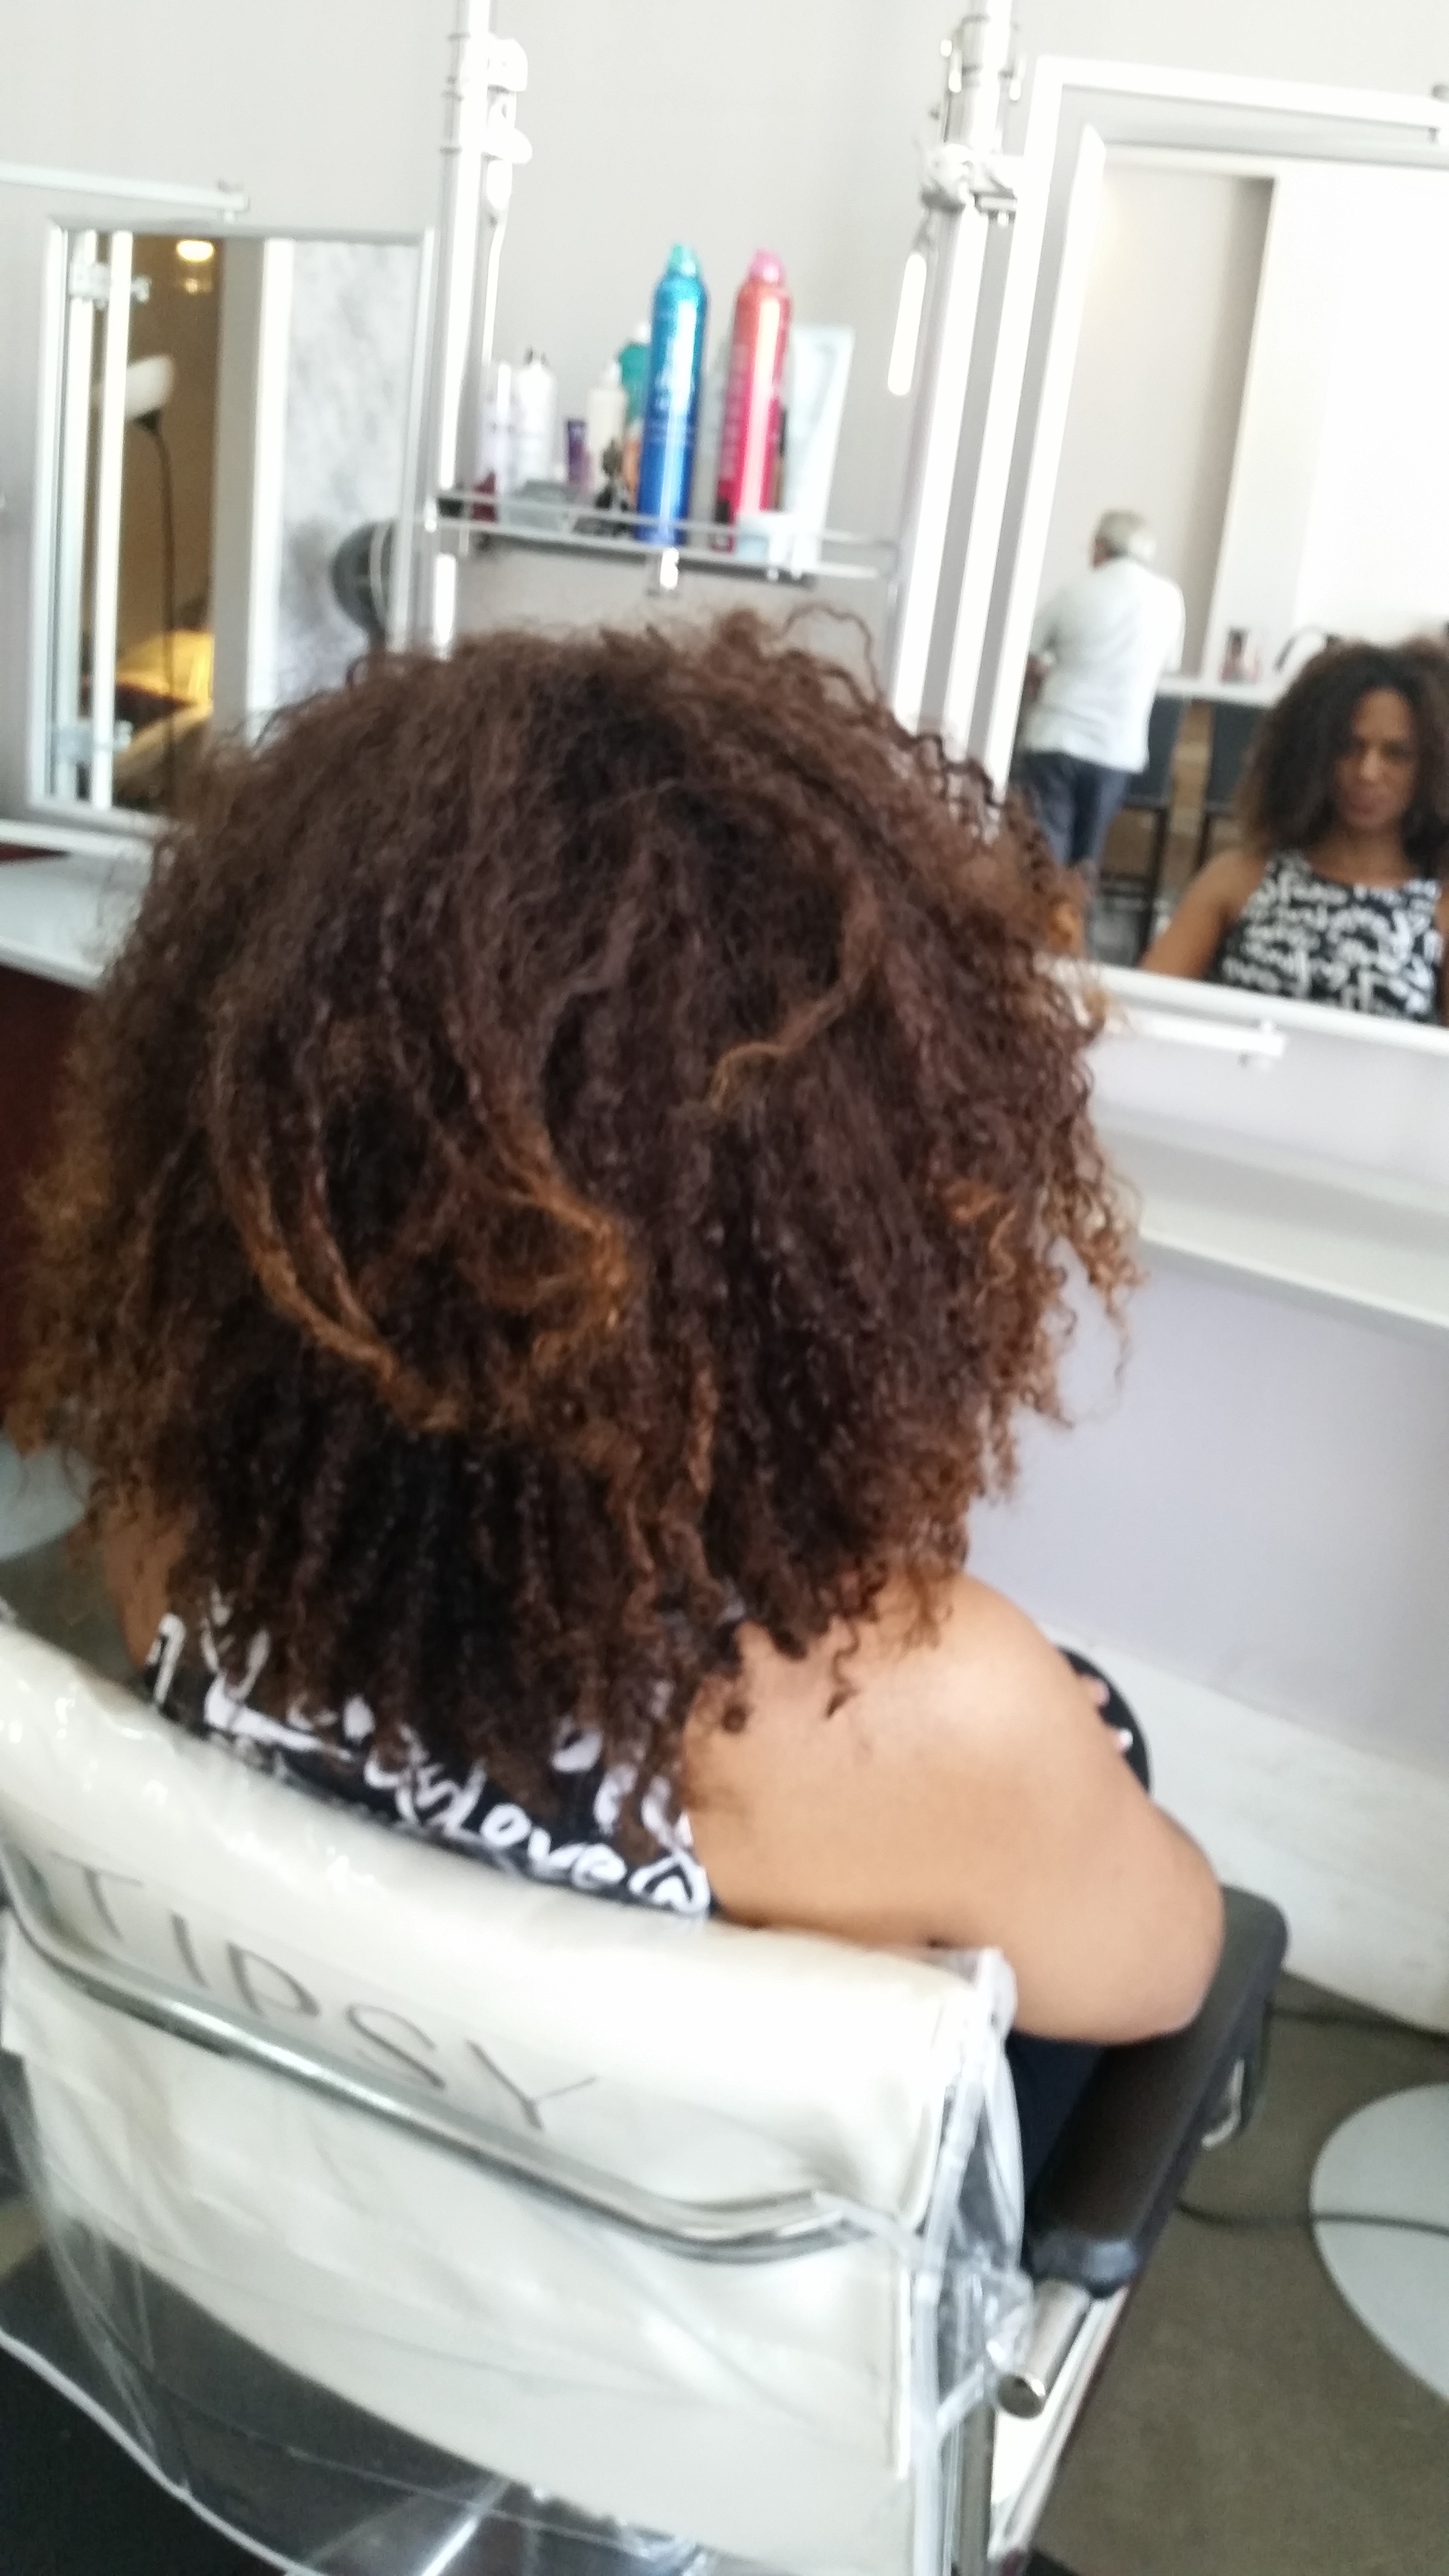
A normal good curl day.
For those of you who have been following my blog since the beginning you know that this has been all about my #curlstory. These #curlchronicles are a fun exploration of my journey with my curls. Today is no different. For my entire life my hair experiments have definitely been trial and error, especially in my pre-college days when I didn’t have as many resources. Today there are so many voices out there that you could be trying different products and methods constantly if you aren’t careful. Today I was reminded of these Trials and HAIRors when I woke up to an email from my Dad. Sidenote: I totally love my father. He has been my number one supporter from day one. From coach to cheerleader he has always had my back. So I was not surprised that he would share an email that ties to my latest project – this blog.
The email was simply a forward from Flipboard (who knew my Dad used Flipboard) sent at 6:30 AM with a link to an article on HuffingtonPost.com entitled “8 Things You’re Doing Wrong to Your Curls”.

Huffington Post Article: 8 Things You’re Doing Wrong to Your Curls Co-authored by Elena Nicolau, writing intern at Avelist. That my dad sent to me.
So I scrolled through it quickly before jumping out of bed to start my day. While all of them I had heard before some I have to say I disagreed with. So I thought I would give you the cliff notes version of the article and enhance with my curl experience.
Elena Nicolau’s first tip was “Put that brush down!” She goes on to suggest that brushing your hair will destroy your curls. This is simply not true. There are certain combs and brushes that will work well on your curls with the right amount of conditioner, moisture and/or styling product. The key is begin styling your hair when it is dripping wet. I start my style in the shower as I am washing and conditioning my hair. I always comb conditioner through my hair in the shower and let it sit. Combing my hair with a wide tooth comb separates my curls and allows them to spring into their natural spiral. If I am not looking for a smooth, defined look I may skip the comb and only use my fingers. I also tend to do this when I am in a rush or traveling. Ultimately you will need to go through your styling process once using a comb and once using just your fingers to see which look you prefer. You definitely do not want to attempt to comb or brush dry curls. If you are doing a slick-back style like a bun, ponytail or faux hawk I recommend using a boar brush (like a men’s wave brush) to smooth out your curls. Be gentle and careful not to scratch your scalp. Avoid using any round brushes because your curls will wrap around the brush and make it difficult to style.
Tip 2 was “Throw out that crunchy, flaky gel!” Here Miss Nicolau and I agree. Adding any styling product like gel or mousse that contains alcohol is never a good idea. However there are some great gels out there for curls that don’t make your hair crunchy or flaky with proper application. For example the Ouidad Climate Control Heat & Humidity Gel that I reviewed in my last blog post or AG Liquid Effects , an alcohol-free Extra Firm Styling Lotion, which is a great gel alternative. Of course you can also turn to my favorite – the curl creams. Ouidad and AGhair are again favorites of mine.
“Don’t go to any old hairdresser,” was the third tip. Again, I agree. I shared in my last post that I have learned how amazing specialized curly hairstylists like Ouidad certified stylists are. Do your research. I move a lot so I am always looking for a new stylist. I would love to always wait until my semi-annual trips home to see my lifetime stylist, Cynthia at Pampered People in Danville, PA but that is just not possible. I usually will ask for recommendations when I see someone with hair similar to mine or I will google/yelp for naturally curly hair stylists. I also go in for a consultation before ever allowing someone to cut or color my hair (those are permanent and serious changes to my appearance). Feel free to ask them for photos of their clients hair – today many stylists have Instagram or other social media accounts to show photos of their skills. I had some really bad experiences when I did take the time to research. I highly recommend you don’t rush into any salon and assume they can handle your hair even if they say they can.
Tips 4, 5 and 6 go hand in hand. Limit your shampoo! Don’t skimp on the conditioner. Who needs a blow dryer, anyway? This is all about your maintenance routine and again the author is accurate. If you have learned anything about your curly hair it should be not to shampoo your hair daily. It strips your hair of all the natural oils that keep it healthy and shiny. You should really wash your hair once a week with a sulfate-free shampoo that is less drying. Focus on your scalp and any product buildup and let the shampoo rinse through your curls. Unless you competed in a mud run or have an excessive amount of styling products in your hair you shouldn’t need to wash your hair more than that. I usually choose to wet my hair almost everyday and add leave in conditioner. This keeps your curls hydrated so you minimize frizz.

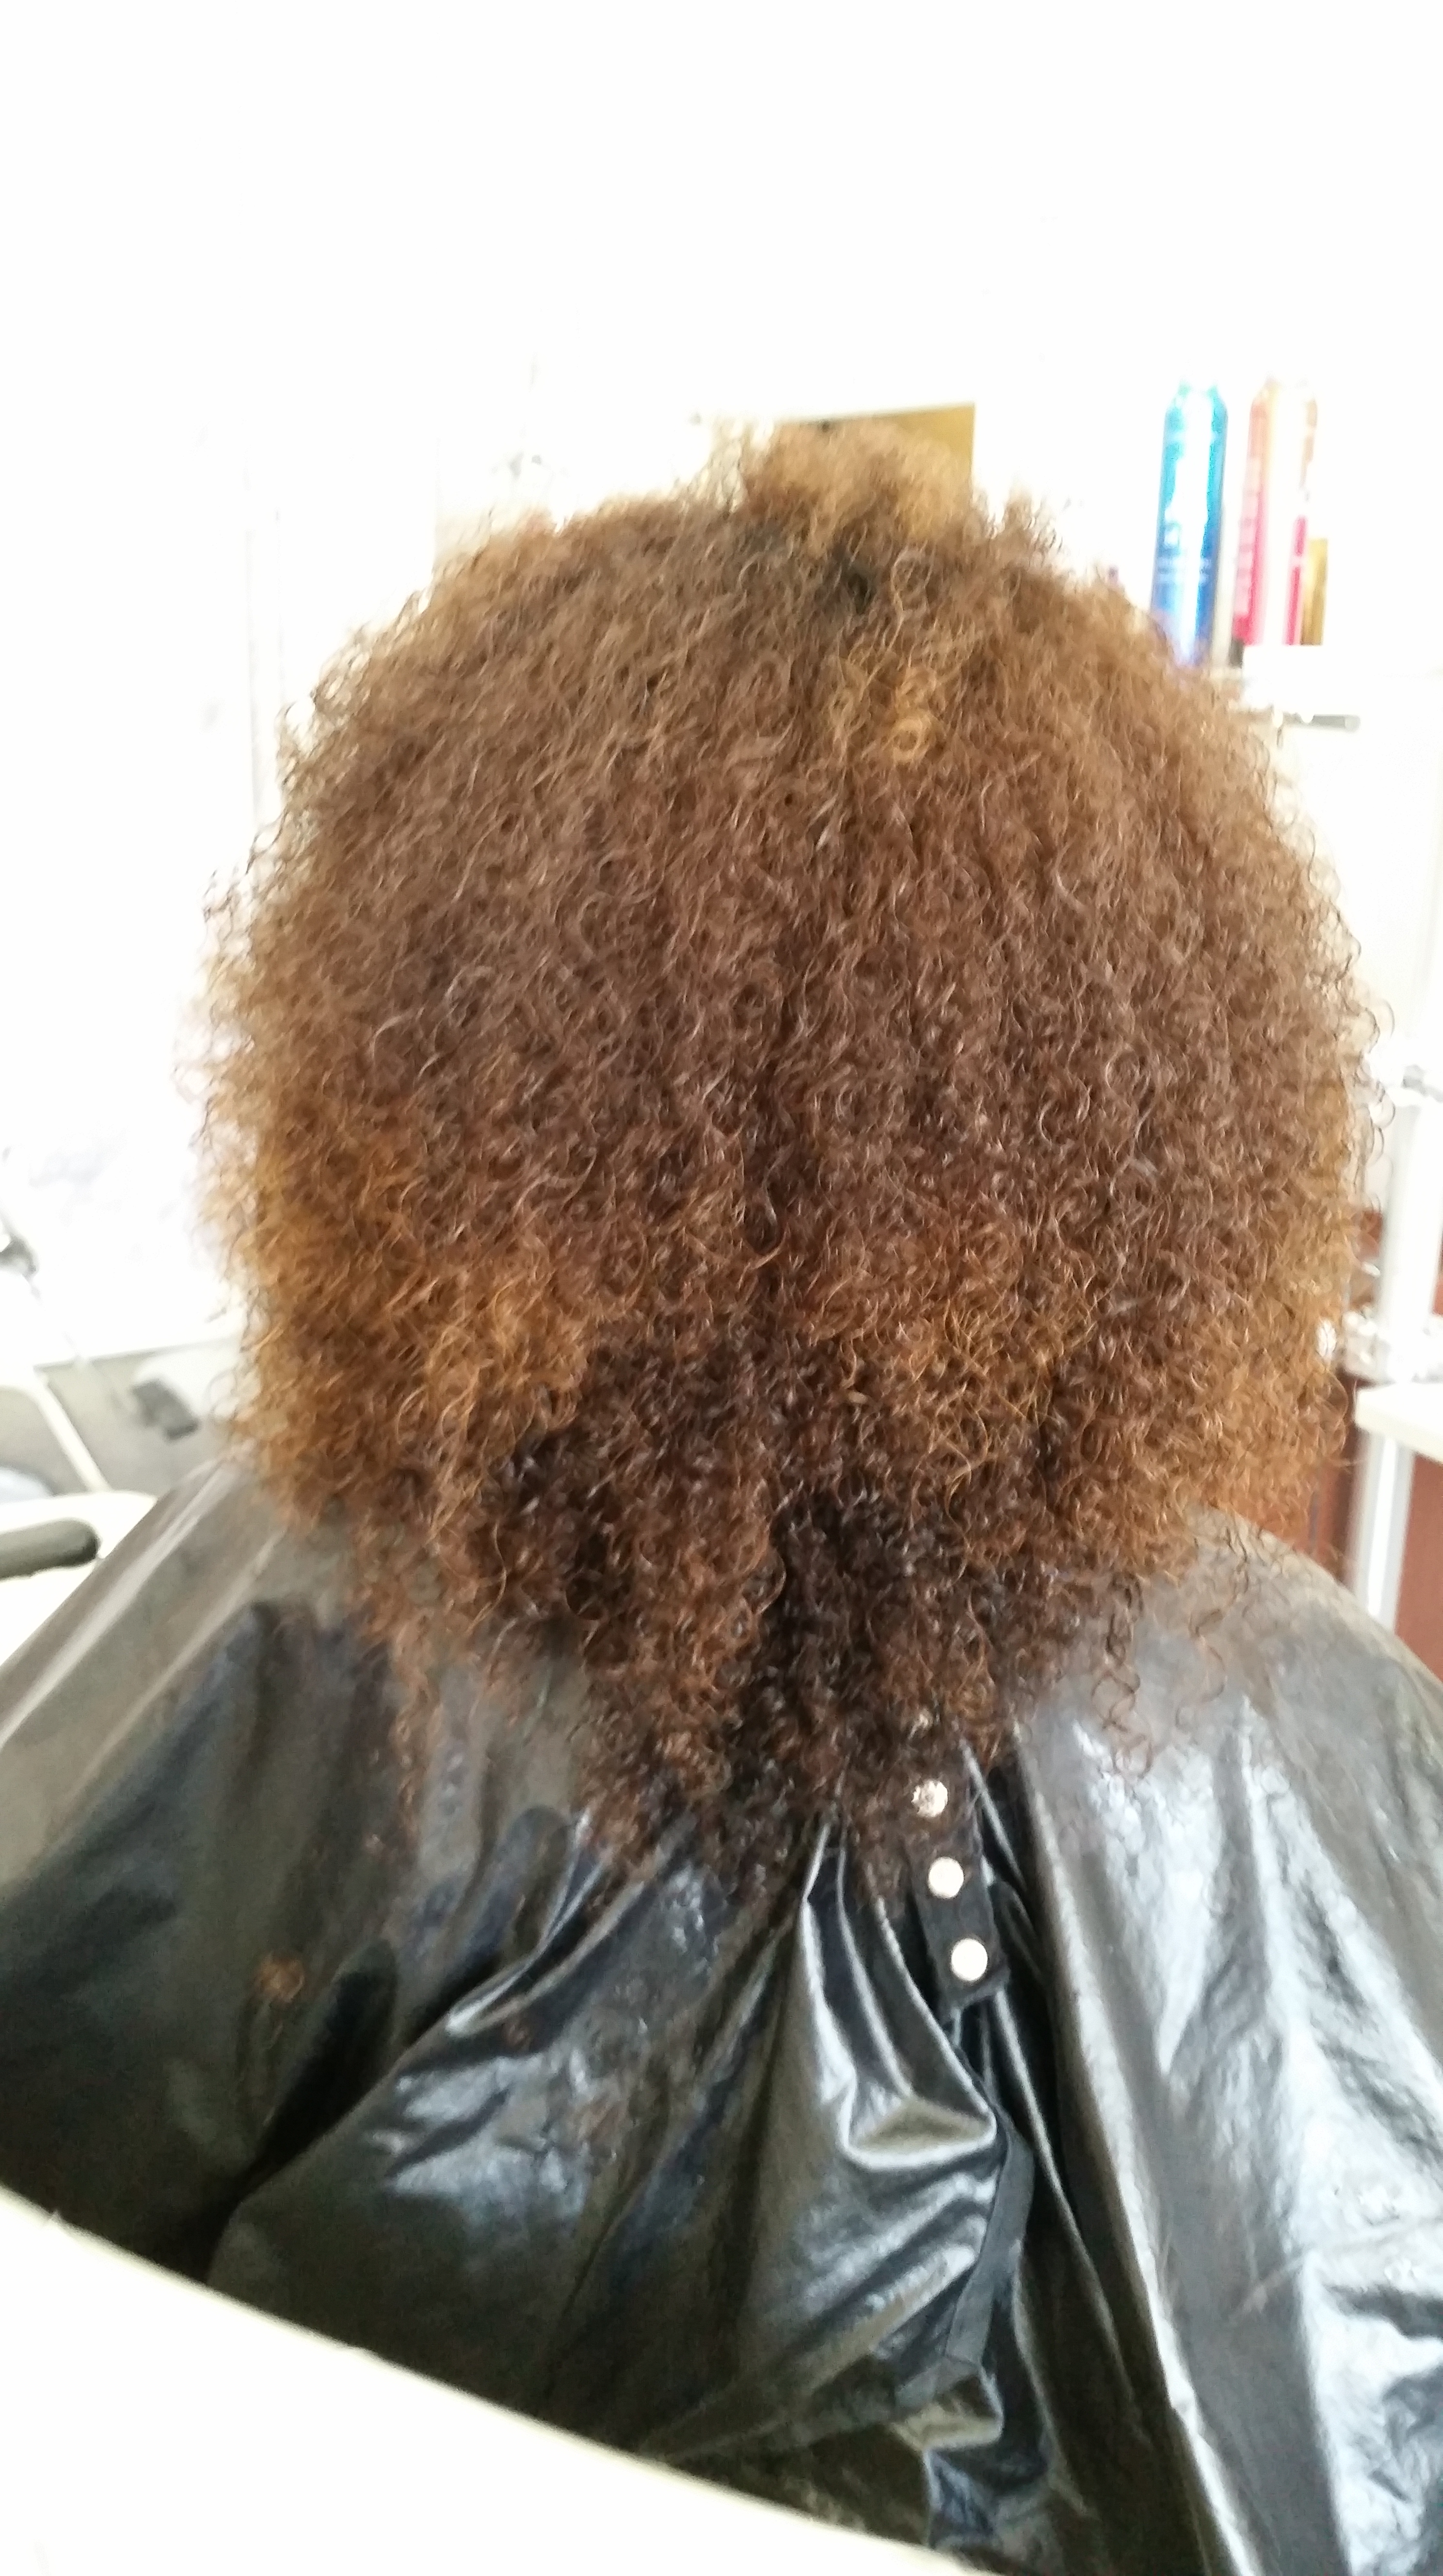
Air dried curls before bed
I also try to wash my hair in the early evening so it has time to air dry before bed or I will do it in the morning if I am in a warm climate so it has the day to air dry. If you must dry your hair after adding styling product you should add a diffuser to the blowdryer and hold about 4-6 inches from your head being careful not disturb your curls and cause frizz.

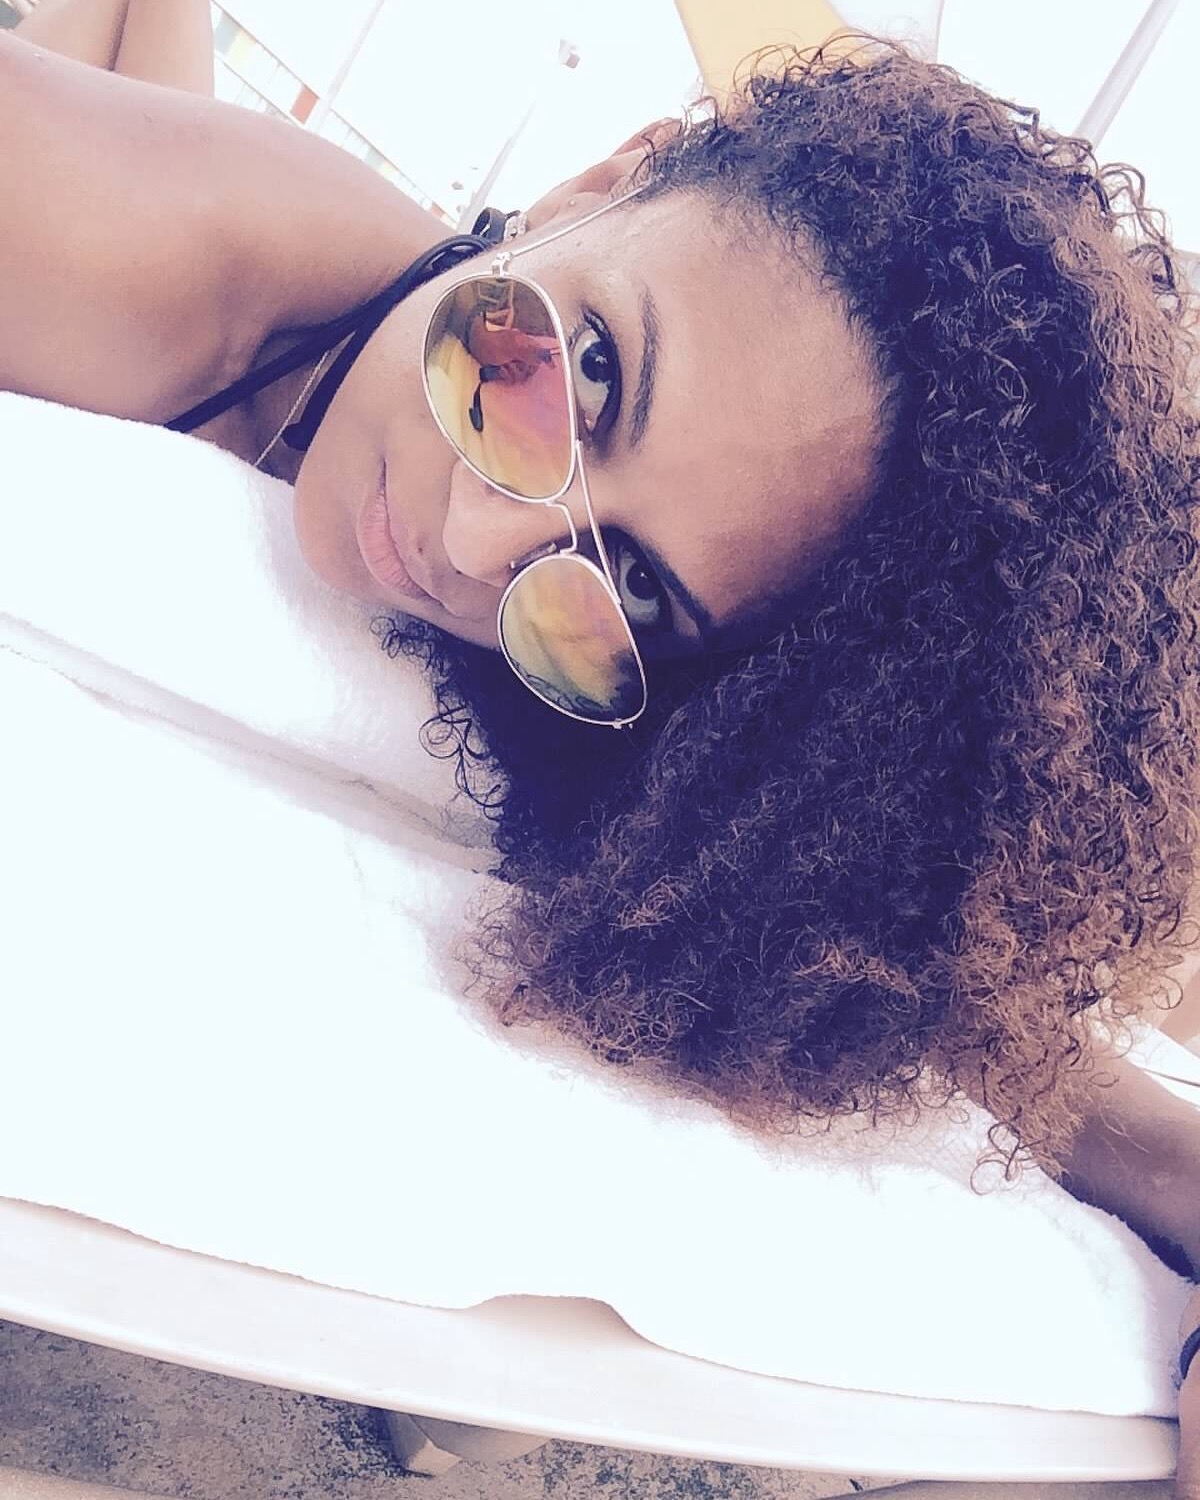
Crazy beach day hair but I still love my curls! Frizz does happen.
My best friend Selena loves the diffuser – I am always running late and rarely have the time. It is really your preference. If you plan to be outside especially if you are going to be in or near water you may want to leave a little of your conditioner in by only rinsing about 50% out. That way as the water or sun hits your hair it is hitting the conditioner first and you won’t end the day with dry, frizzy curls. Another tip I would like to add is that you should deep condition your curls weekly. You can use an actually deep conditioner or a hot oil treatment if you like. Depending on the climate where you live you may need more conditioning than others. Living in Florida my nemesis is the humidity. I have been applying a conditioner for color-treated hair (since I just decided to go light again – more on that later) along with organic coconut oil to my hair, putting on a plastic shower cap then wrapping with a scarf. I apply this at night and when I wake up my hair is smooth, soft and shiny. I can run my fingers right through it. I rinse it out in the shower and follow up with my normal styling routine. Try different types and find the one that gives you the results you need.
The seventh tip from the article was simply, “Don’t get discouraged!” I like it. It’s simple but true. The author mentions the online community which has increased our ability to share all things curly. This is exactly why I started blogging so I could be part of the awesome Curl Community. Blogging pushes me to try new products and techniques. I love sharing what works for me and what doesn’t but everyone needs to go out and explore on their own. Don’t give up – you will find your perfect #curlcocktail.
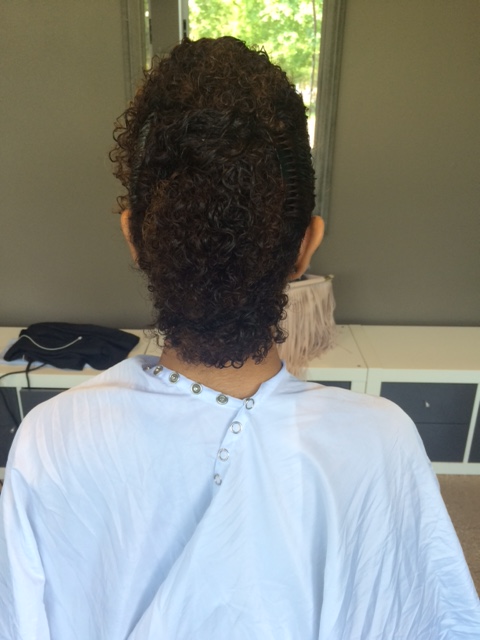
Curls. curls. curls. I can always count on them.
The biggest issue, and one that we’ve all struggled with, comes when you’re not embracing your curls. The final tip is to simply love your curls and again I could not agree more. Curls are beautiful in all textures, patterns, colors and length. I love seeing my fellow #girlswithcurls and guys too. Compliment someone with curls today and help them feel confident about being a part of the wonderful world of curls! Don’t forget this is a journey. I would add my own additional tip to make it 9. Try different things with your hair. Different products. Different processes. The different styles. Remember that you know your hair best. And it’s only through experimenting that you’ll know what your curls need. Enjoy the path of your #curlstory and find what works for you with Trial and HAIRor.